Beacon Lighting Basics for Motorcyclists
If you ride after dark, a good beacon light isn’t a luxury – it’s a safety tool. A bright, reliable beacon makes you easier to see, helps you navigate tricky roads, and can even add a cool look to your bike. Below you’ll find simple advice on picking the right light, fitting it correctly, and keeping it in top shape.
Choosing the Right Beacon Light
First, decide what you need. Most riders look for three things: brightness, durability, and power efficiency. LED beacons shine the brightest while using the least battery. Look for a model that offers at least 300 lumens – that’s bright enough for highway riding without blinding other drivers.
Next, think about mounting. Some lights clip onto the fork, others bolt to the frame, and a few wrap around the handlebar. Pick a style that fits your bike’s shape and won’t get in the way of your controls. If you plan to ride in wet weather, choose a waterproof rating of at least IP67.
Easy Installation Steps
Most beacon lights come with a mounting kit that includes brackets, screws, and wiring connectors. Here’s a quick rundown:
- Turn off your bike’s power and disconnect the battery.
- Mark the mounting spot, usually near the front fork or headlamp area.
- Drill pilot holes if needed, then secure the bracket with the supplied bolts.
- Run the wiring along the bike’s frame, using zip ties to keep it neat.
- Connect the light to a power source – many lights tie into the headlight circuit, so they turn on with your main lights.
- Re‑connect the battery and test the beacon. Adjust the angle so the beam points forward and slightly upward.
If you’re not comfortable with basic wiring, a local mechanic can finish the job in under an hour.
Legal and Safety Tips
In the UK, beacon lights must meet specific standards. They should be white or amber and flash at a rate that doesn’t distract other drivers. Check the Department for Transport’s guidelines before you buy. Also, never use a beacon as your sole headlight – it’s meant to supplement, not replace, your main lighting.
When riding, turn the beacon on as soon as you’re in low‑light conditions. Keep the beam clean; a dirty lens reduces visibility. If your light has multiple modes, use the steady “high” setting on open roads and the flashing mode in heavy traffic or fog.
Maintenance and Longevity
LED beacons can last years, but regular checks keep them performing. Every few weeks, wipe the lens with a soft cloth and mild cleaner. Inspect the wiring for cracks or loose connections, especially after a rough ride.
If the light starts dimming, replace the LED unit or the battery pack if it’s a separate power source. Many modern beacons have a built‑in battery that recharges when you ride, so make sure the charging circuit is working.
With the right beacon, you’ll feel more confident riding after dark, and other road users will spot you sooner. Pick a bright, durable LED model, follow the simple install steps, stay within legal limits, and keep it clean. Your nighttime rides will be safer, and you’ll look good doing it.
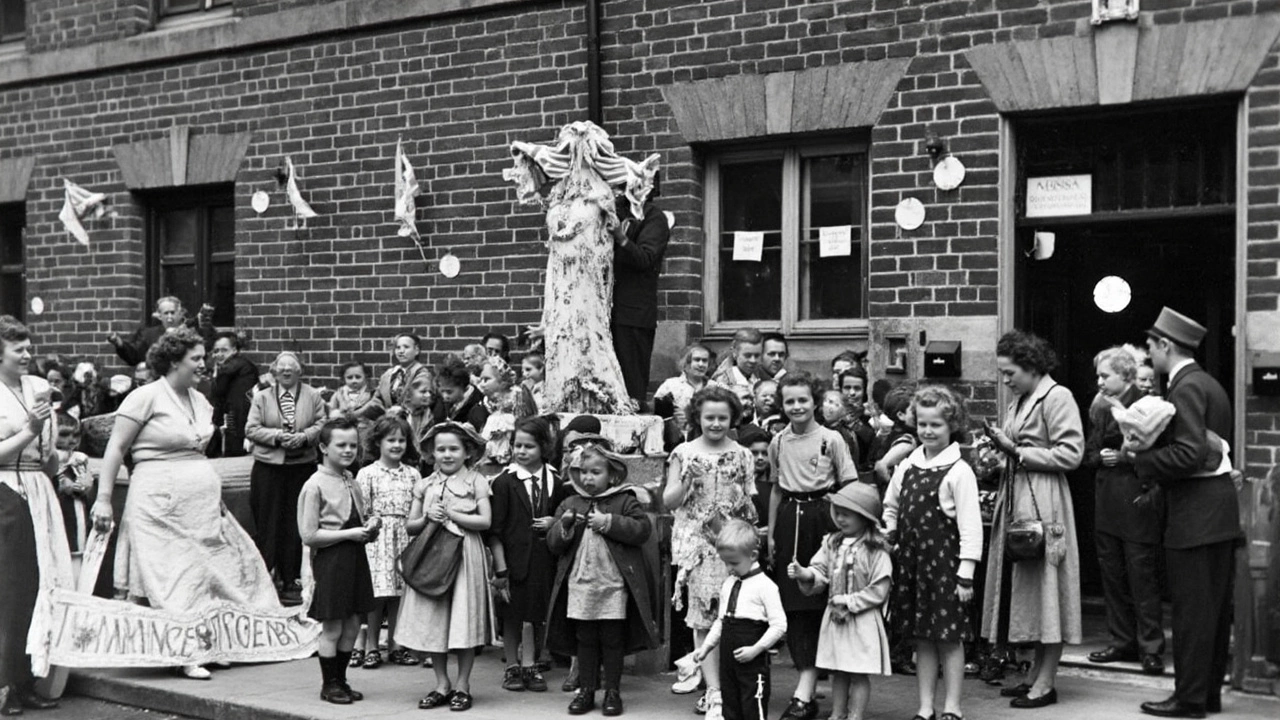
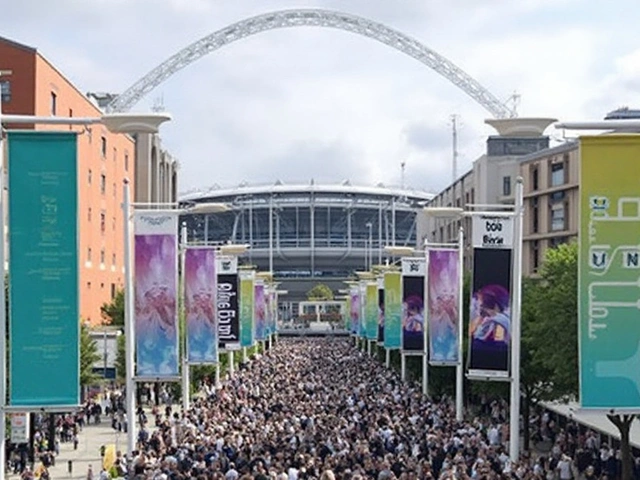
VE Day 80th Anniversary Sparks Four Days of Celebration Across the UK
The 80th anniversary of VE Day turns the UK into a stage for four days of spirited remembrance, with beacon lightings, historical walks, vintage-themed parties, and global peace ceremonies. Communities and schools join the festivities with creative art projects, while national recognitions include services at Westminster Abbey and dramatic flypasts.

Recent Posts